Video Sculpture

Day 352 @ ITP: Video Sculpture Final Project

"Algorithmic Flower"

Screen Shot 2018-08-24 at 11.38.38 AM.png
Screen Shot 2018-08-24 at 1.17.06 AM.png

CONCEPT
To take the projects I had done in this class so far to another level and also inspired by Gabe's suggestion to incorporate data, I decided to combine my interactive Jitter patch and video mapping projects into a new project where the sound and visuals are controlled randomly by data.

PROCESS
First I made a Max/Jitter patch that plays MIDI notes and selects colors based on an algorithm:

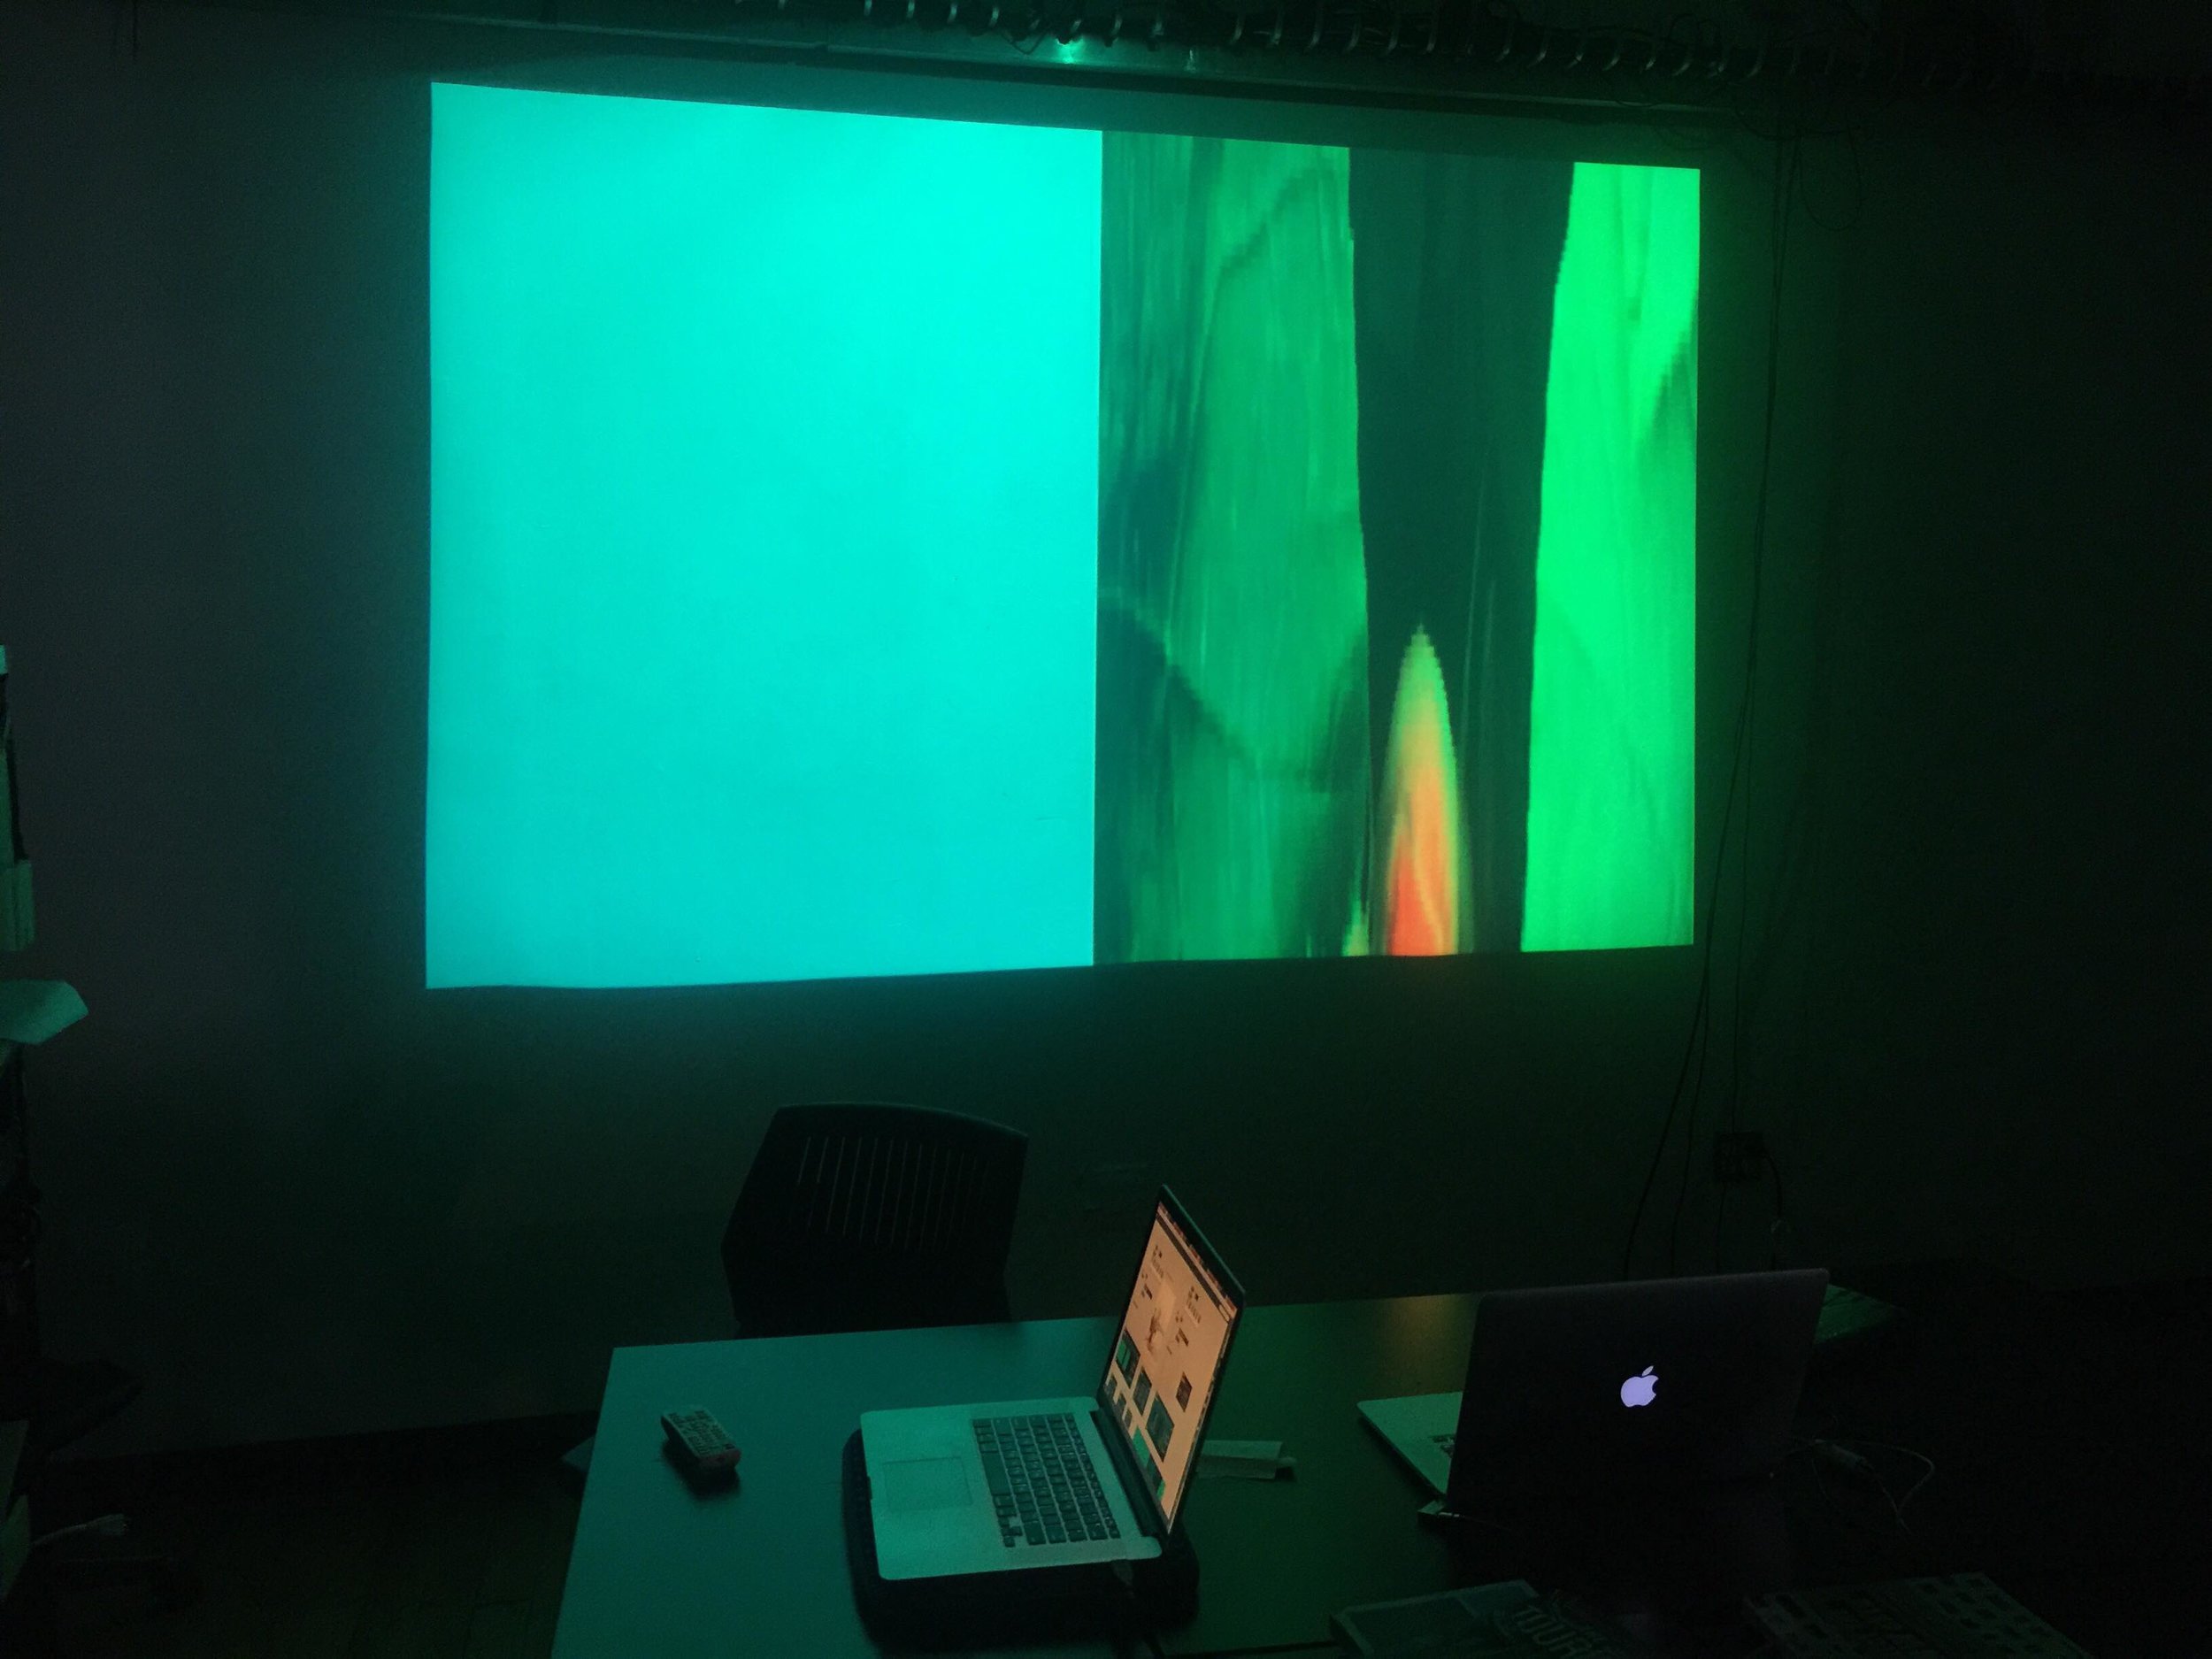
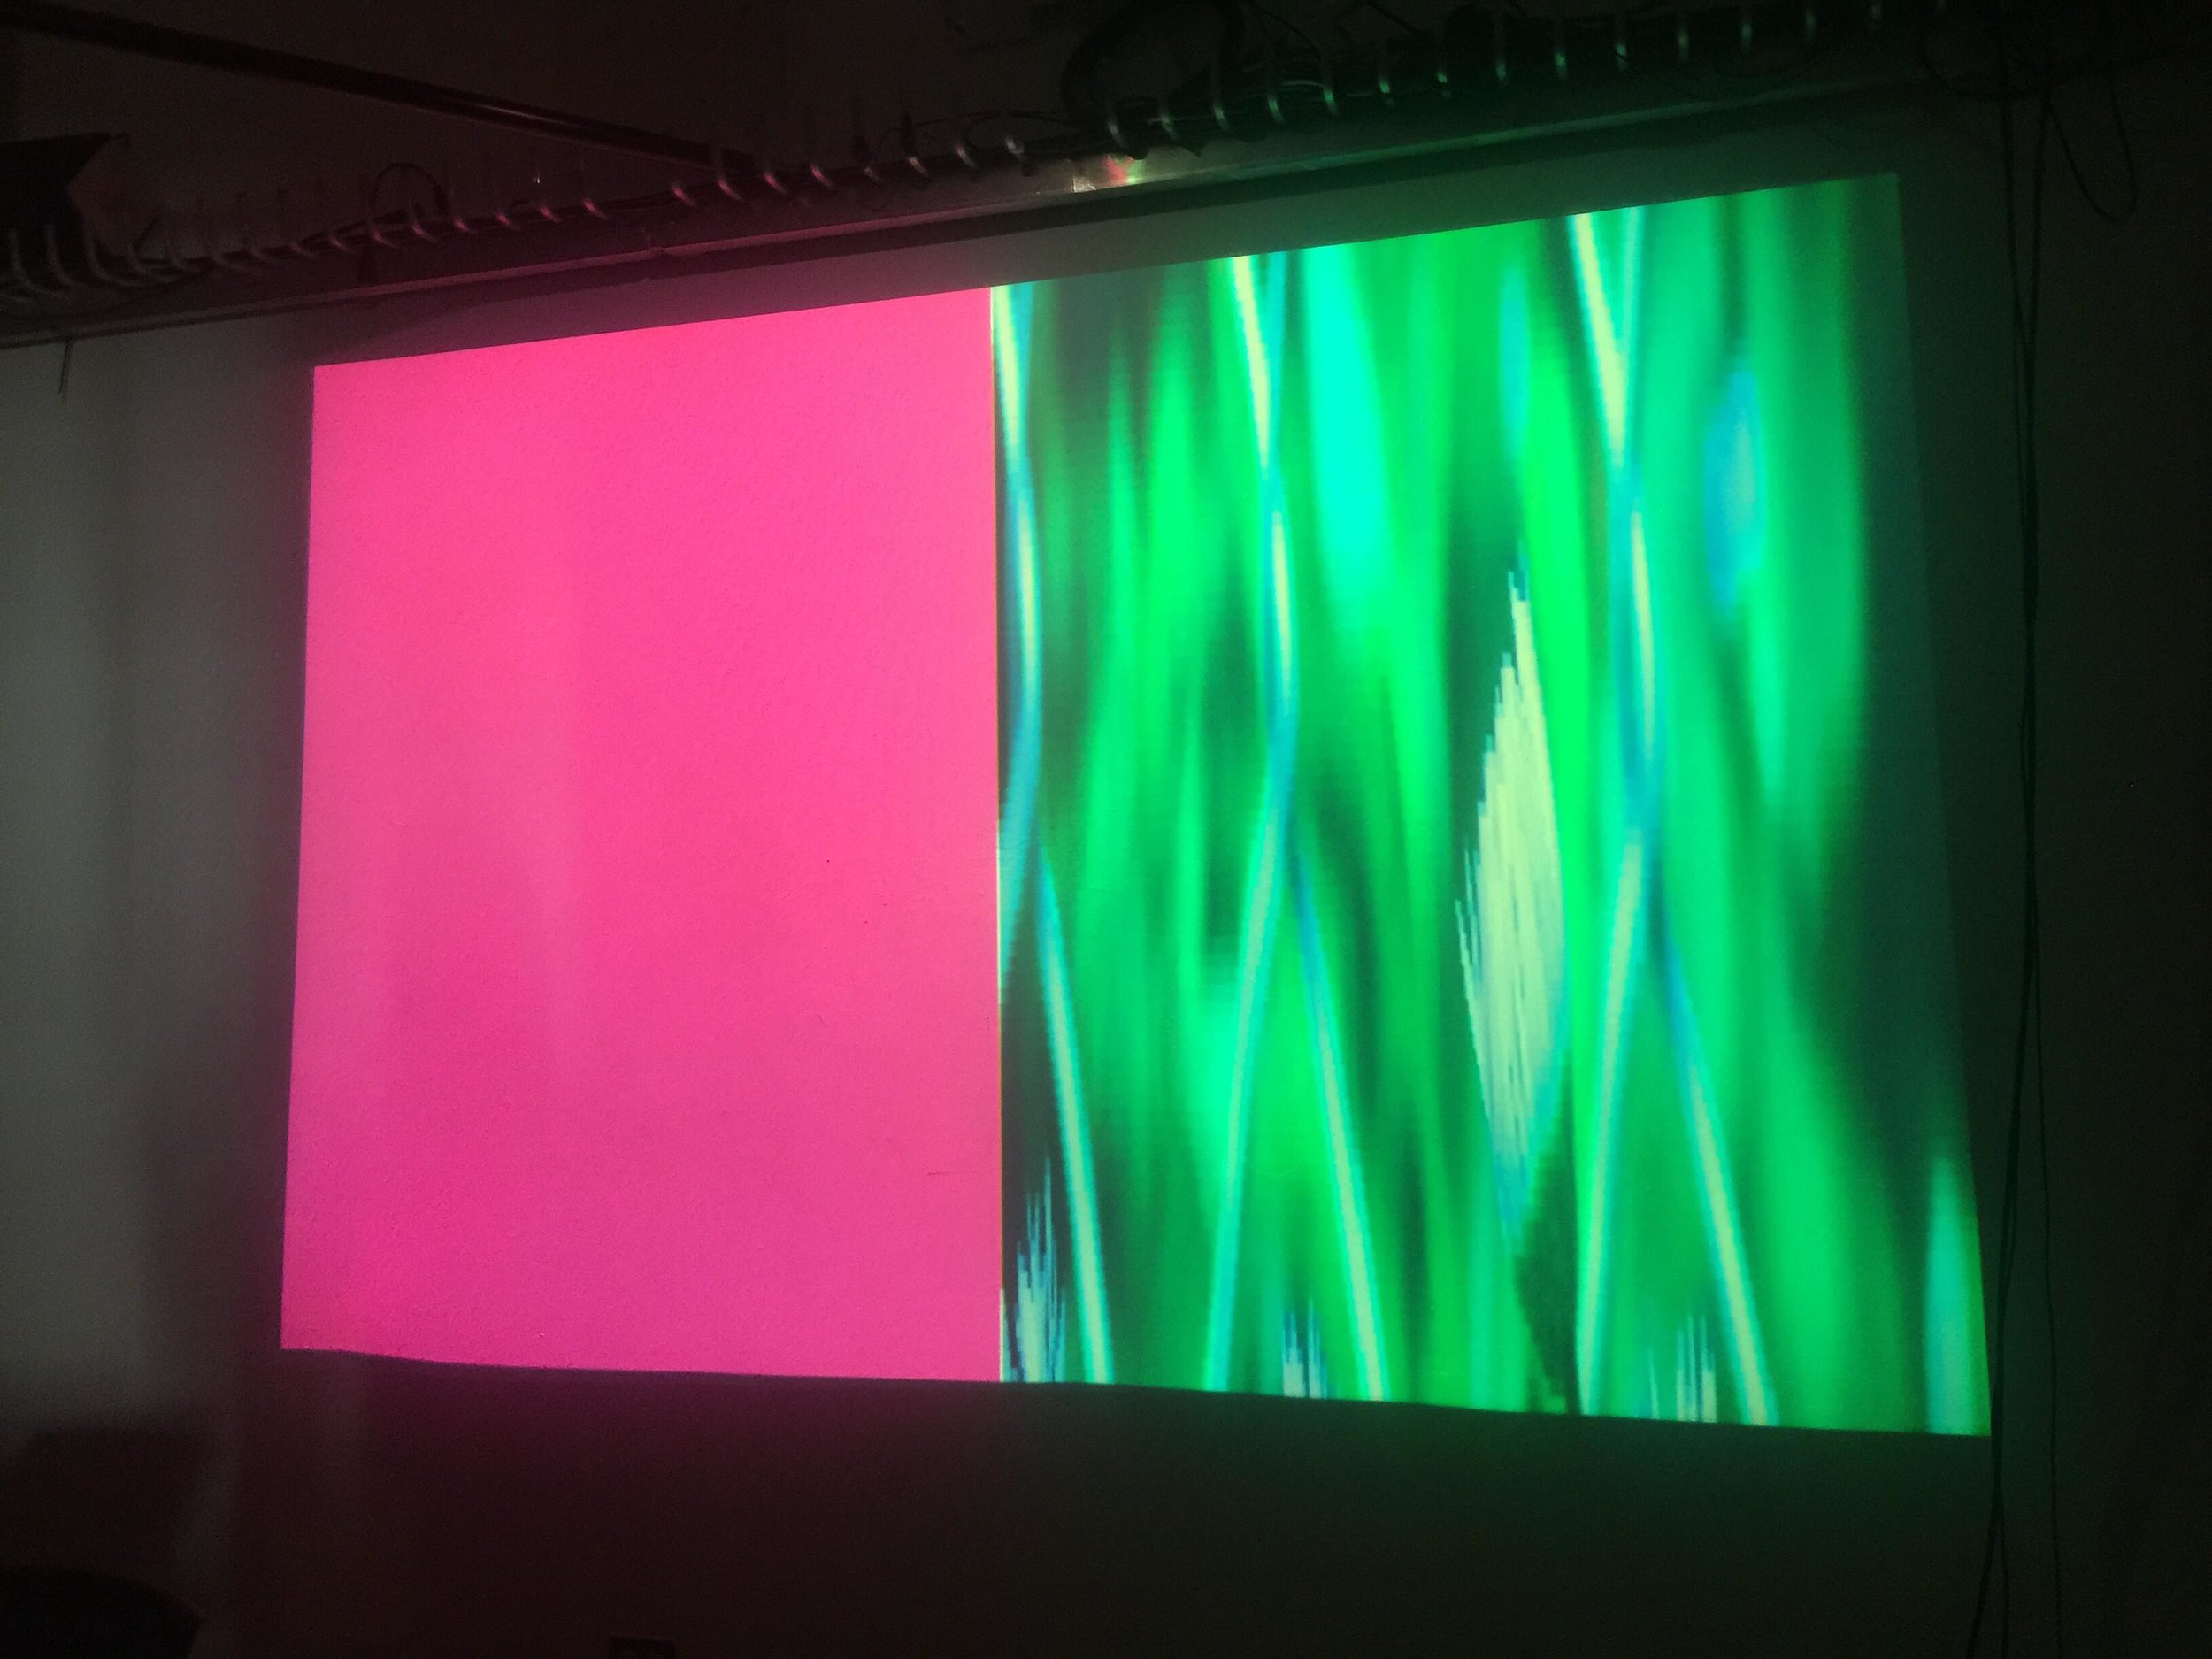
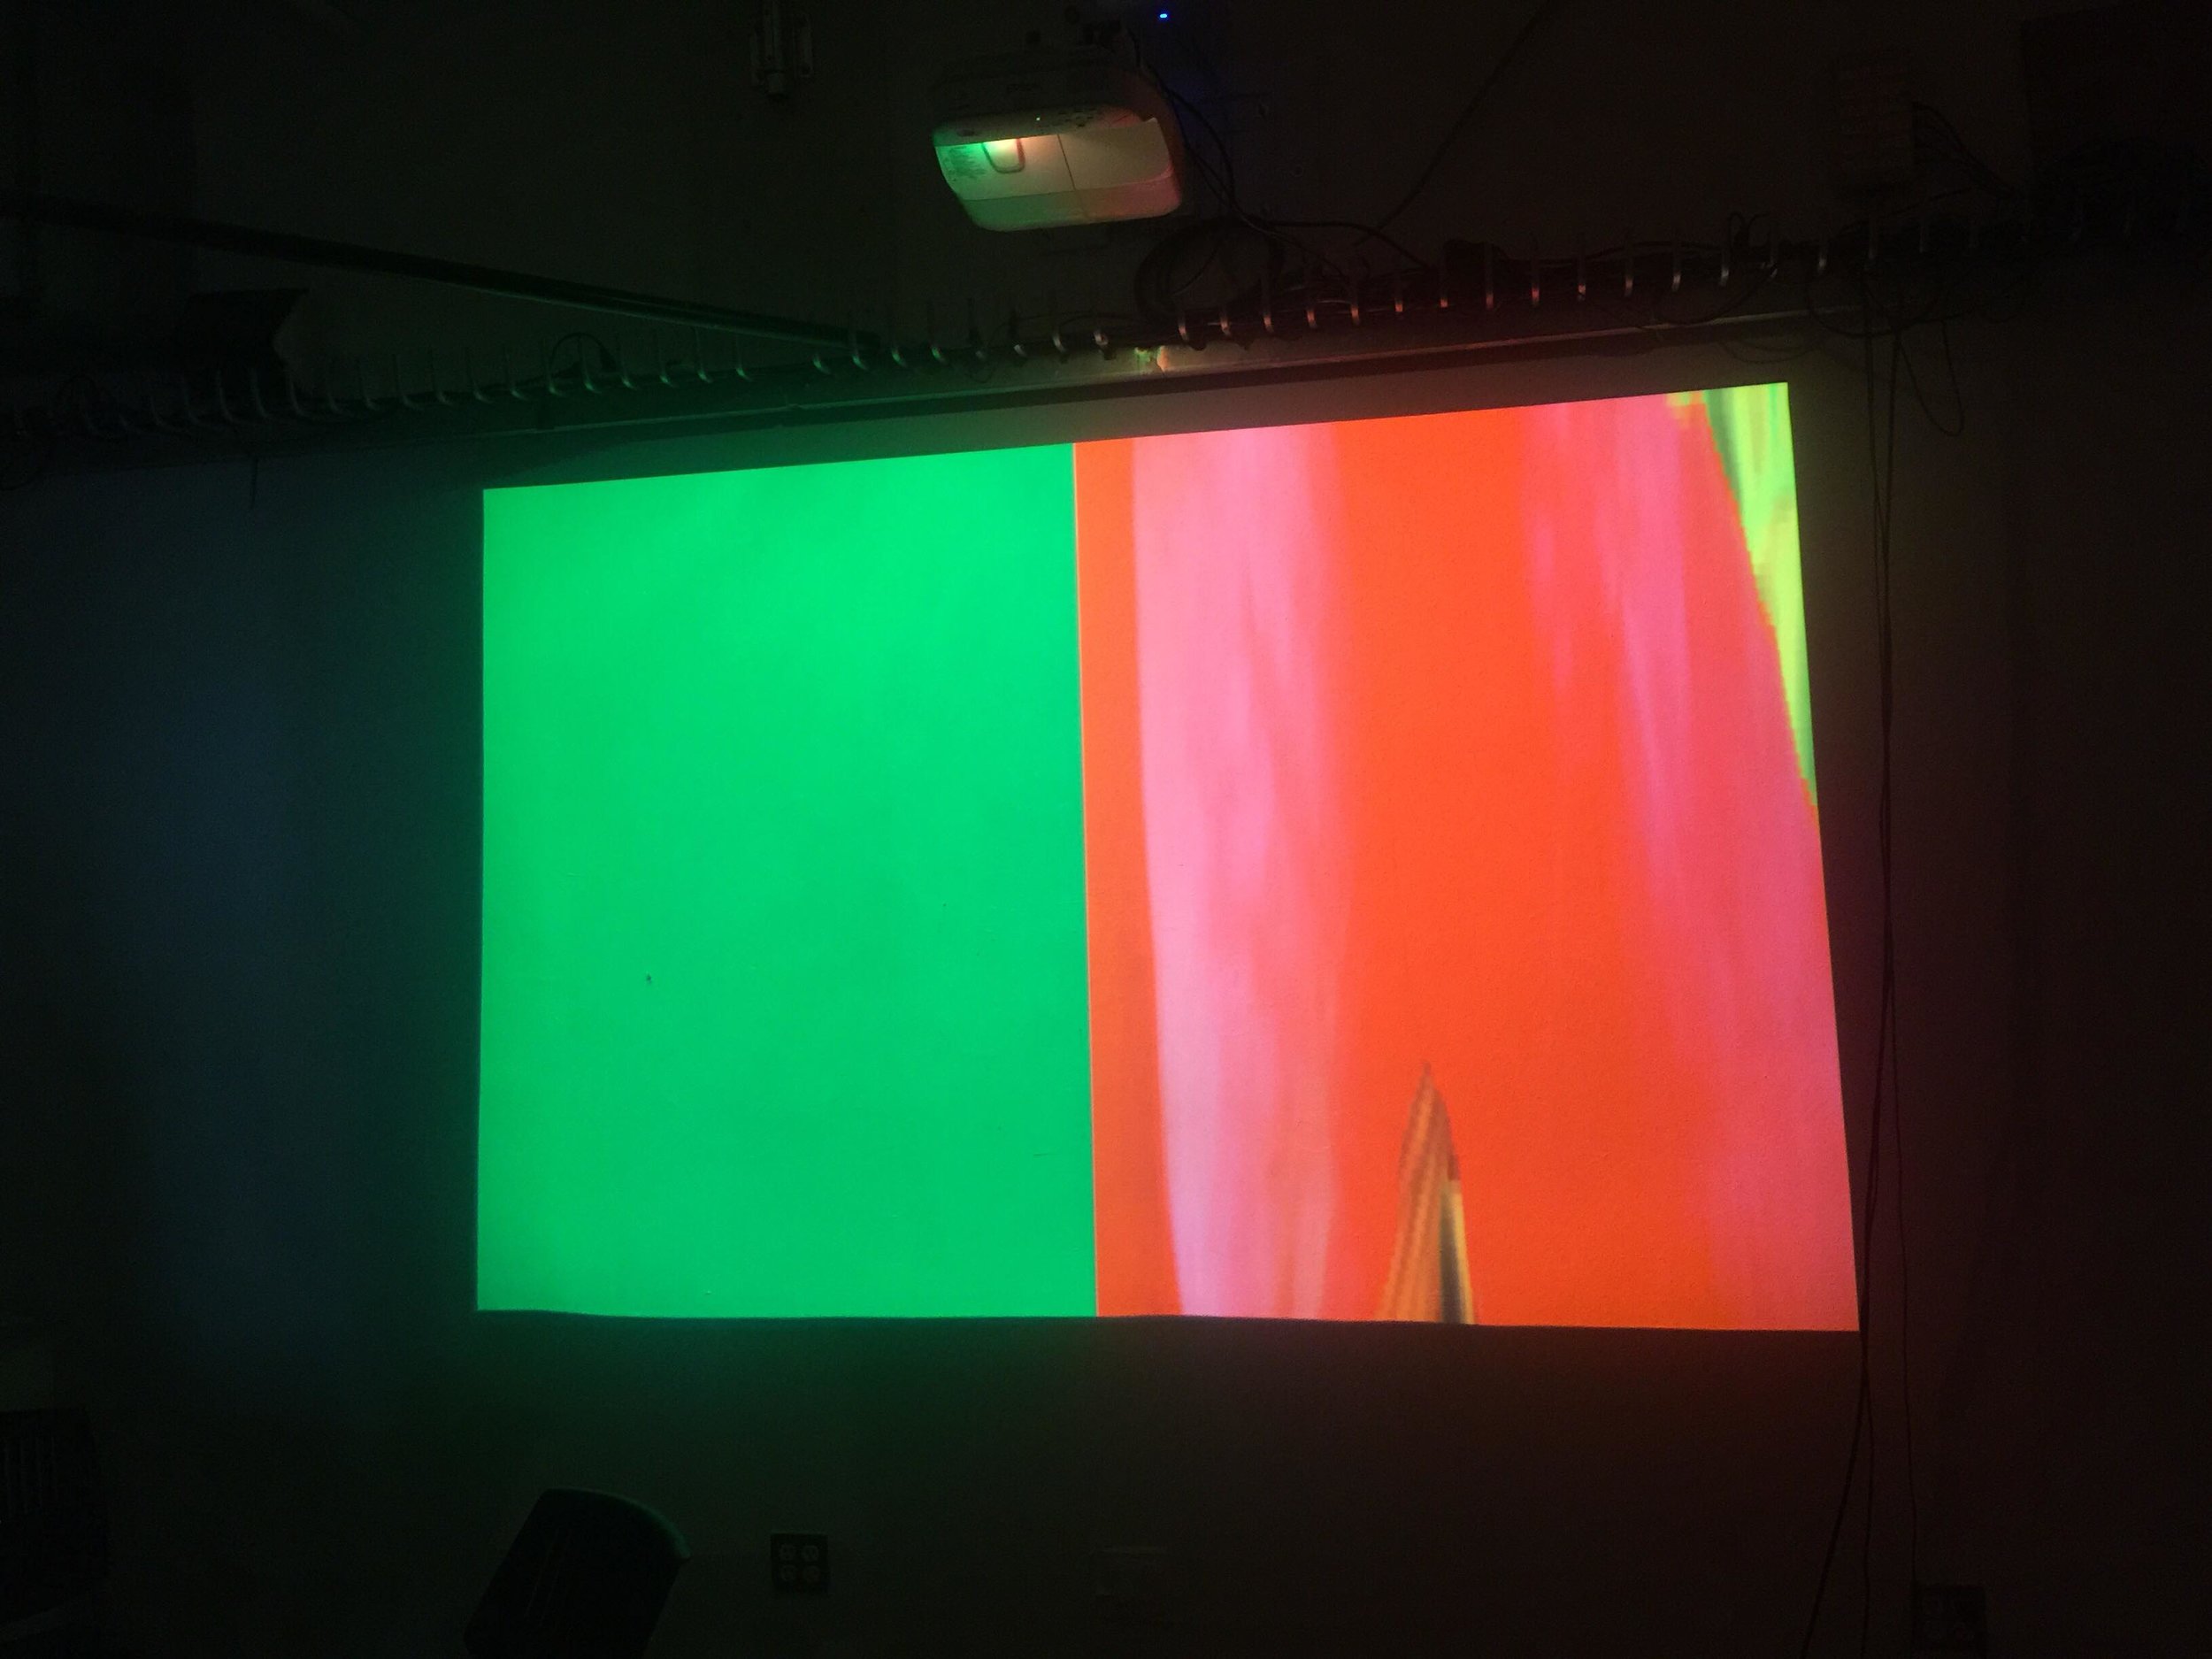
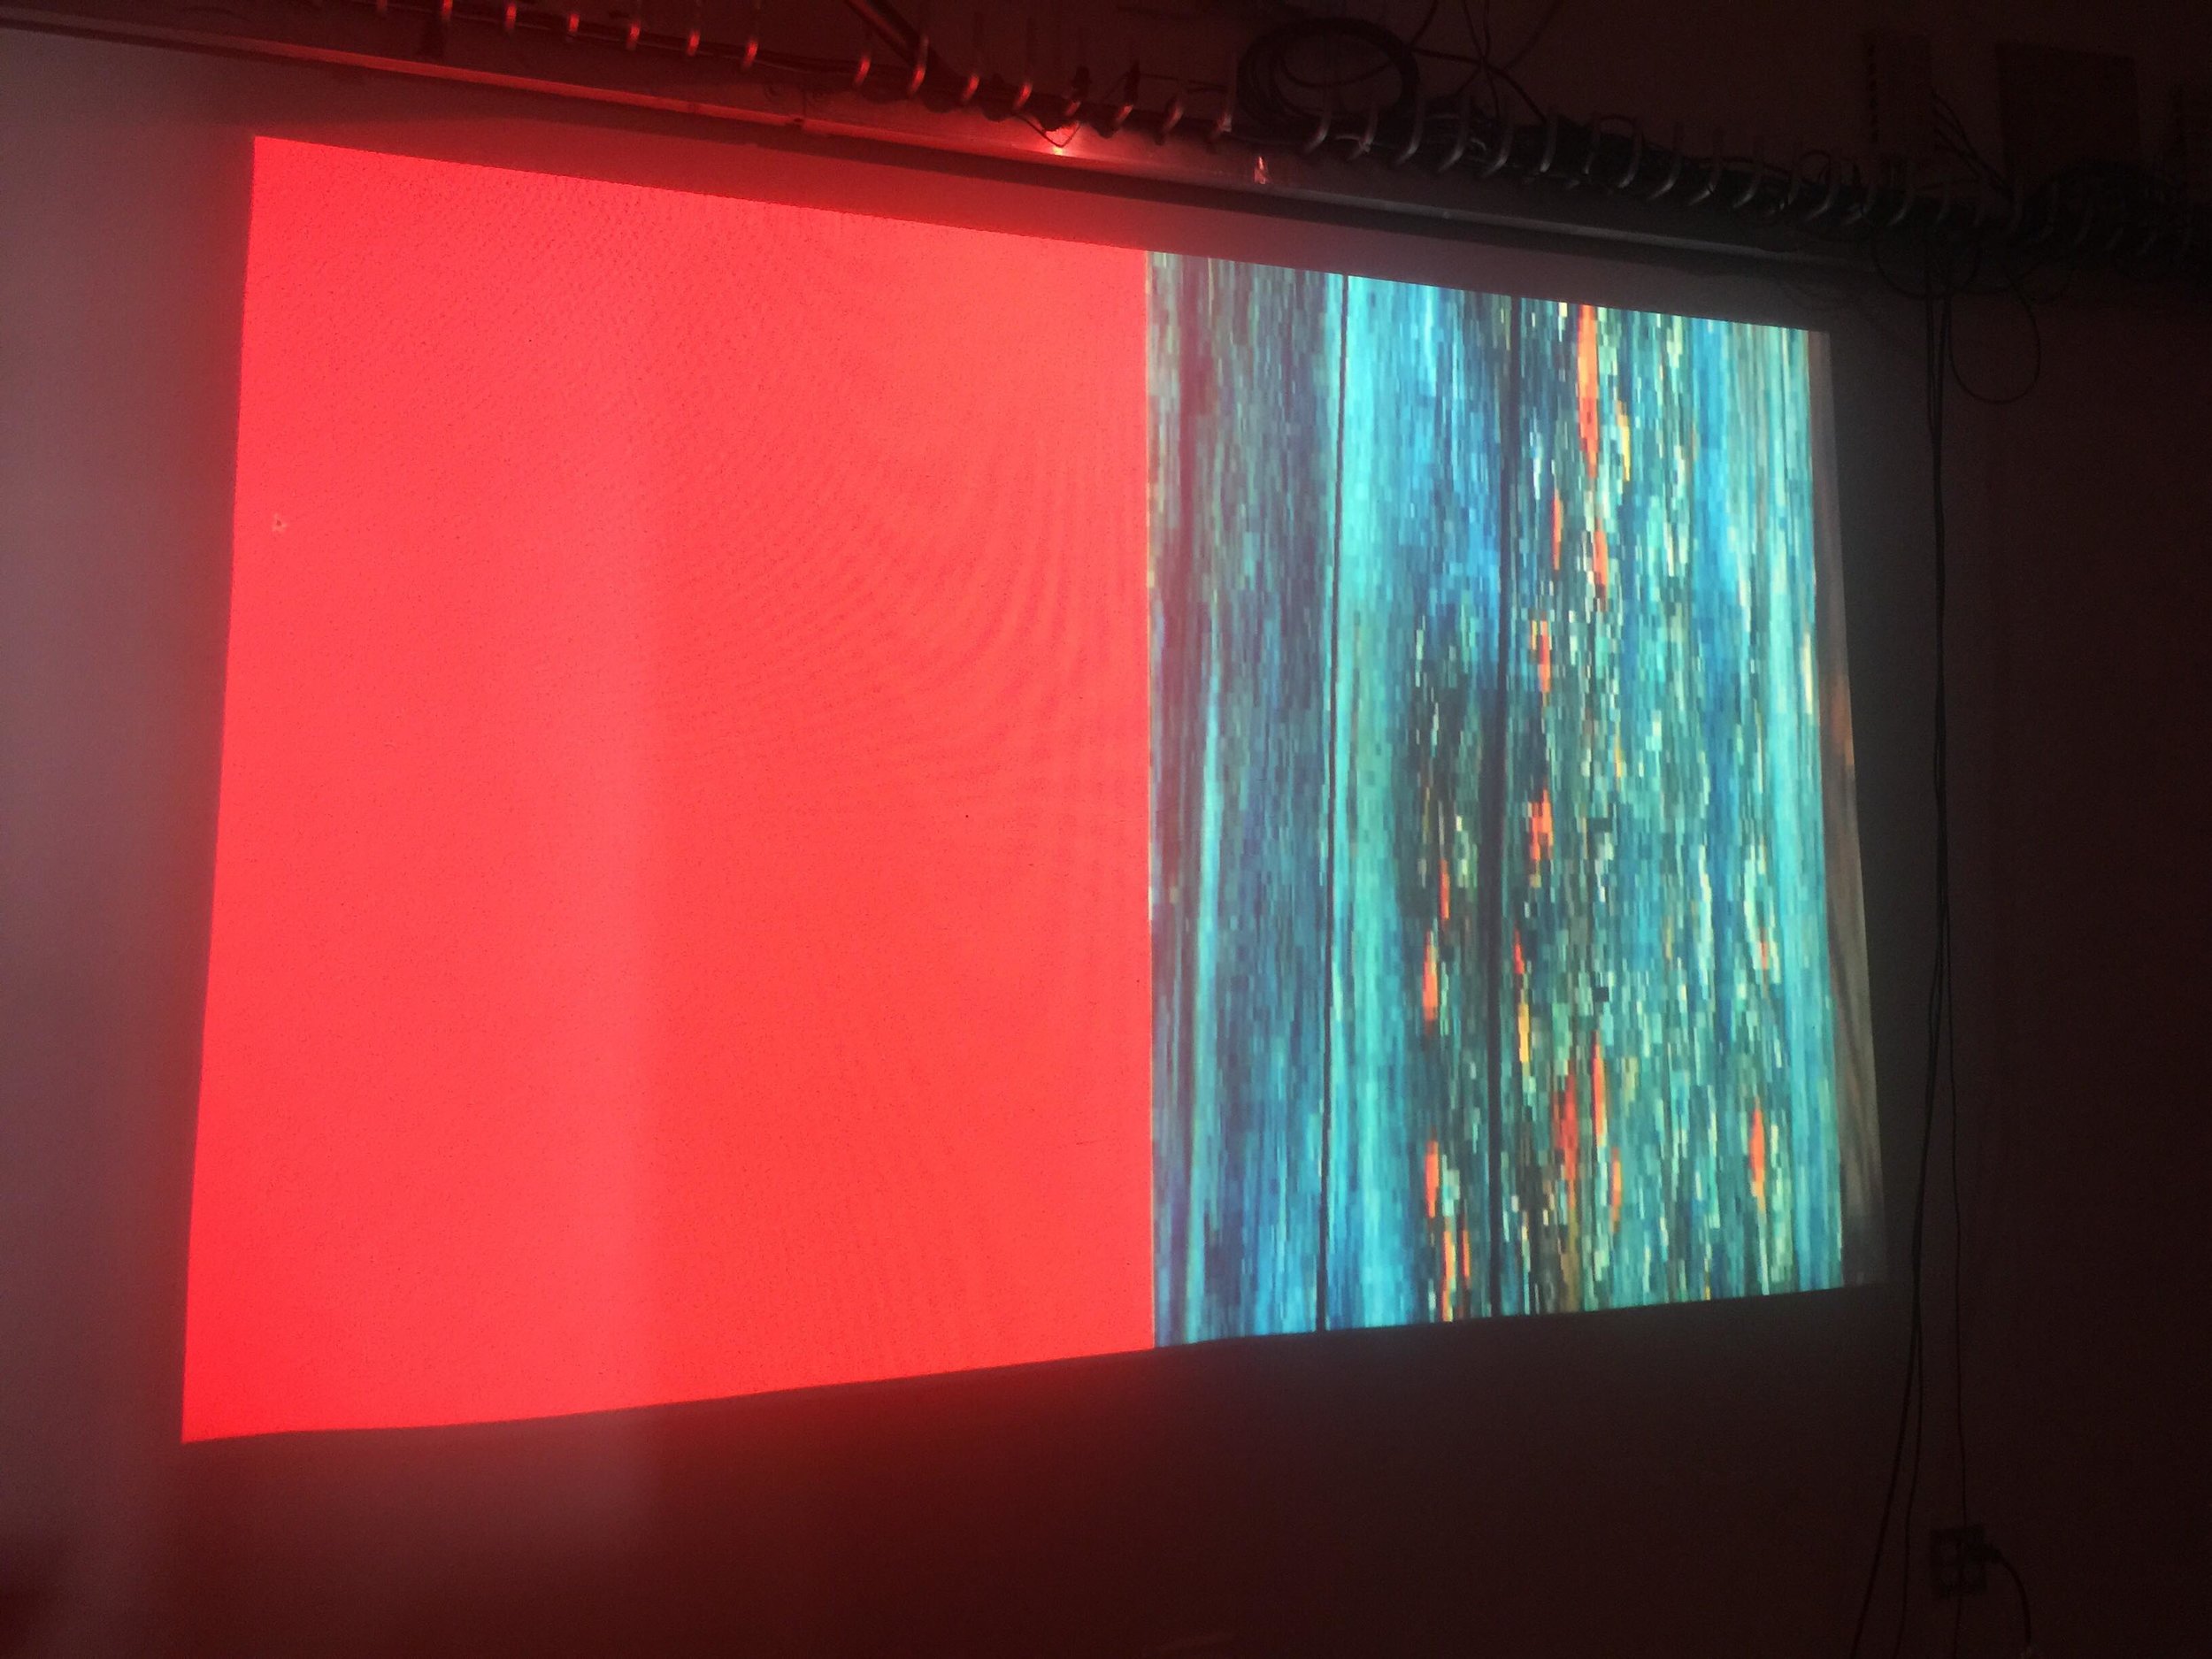
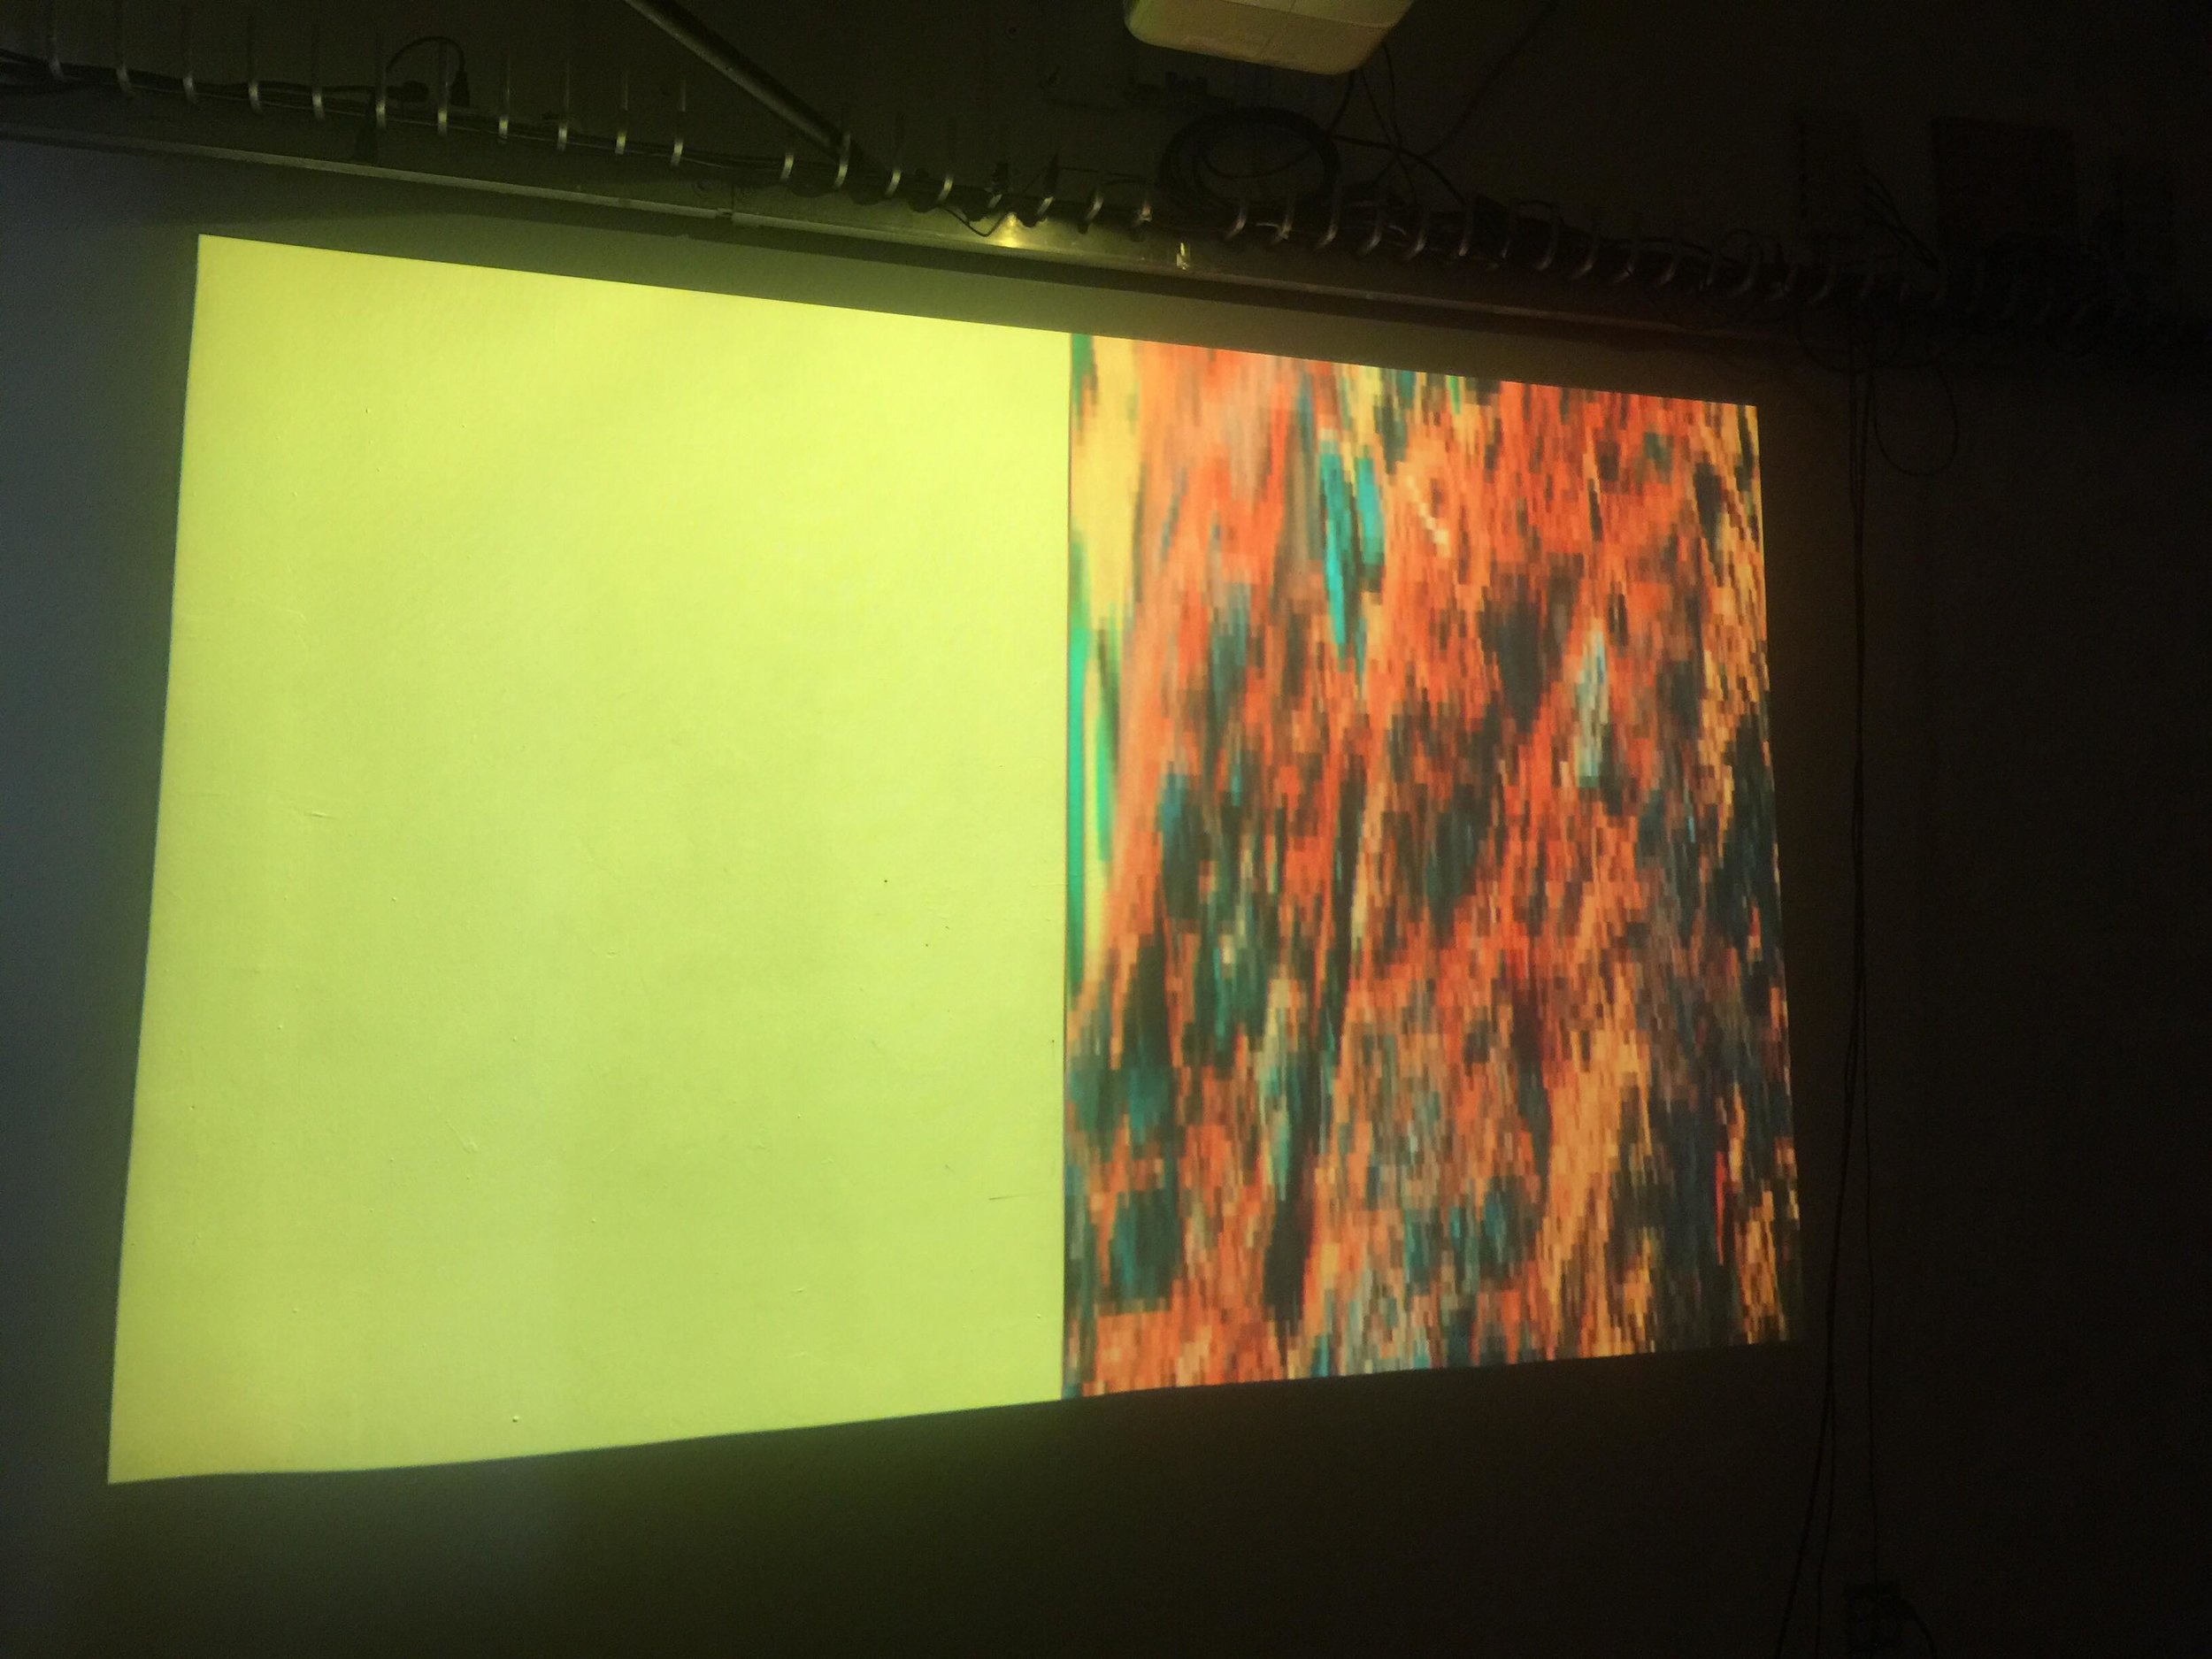
For the sound, I sent the MIDI data to Logic, where it automatically triggered notes on a software synthesizer. For the visuals, I used Syphon to pipe the colors being automatically generated from the Max/Jitter patch into MadMapper, where I assigned the colors to many circles or "petals" in rings. The first ring closest to the center is the original color coming from Jitter; the second two rings are inverted from the first then adjusted slightly to be different shades. For the center of the flower, I used the Chrome extension Fatkun Batch Downloader to collect the images from the first page of an image search for "wildflower." In MadMapper I set the images in a folder to be triggered by the audio input from Logic, which controlled the speed at which the center flips through the images. Between notes it stops and rests on a random image from the collection. For the presentation, I projected the flower onto a wall with the center mapped onto a thick panel of circular wood, with the "petals" radiating out around it.

DOCUMENTATION VIDEO

REFLECTION
Through working on this project I learned how to make an algorithmic Max patch to control sound and video with MIDI, and how to send video/images and MIDI data to MadMapper. There are many possibilities that could stem from this.

Day 335 @ ITP: Video Sculpture

Interactive Color Wheel Grid Installation: "Rubik's Color Wheel"

I got 9 wooden squares to recreate the grid that I originally used in our classroom and hung them in my studio. I used a level hung them first using push pins, then nails, then velcro, but I think they still were not perfect. It would be easy enough in the future I think to develop a better system for hanging them, but it is close. 

While in the first version of this project I triggered the colors manually, for the second version they are being triggered with a small MIDI keyboard. The idea for this version is that it would be interactive (maybe for kids, in a children's museum) and played like a musical keyboard that lights up different squares on the grid. I had my friend play it for the documentation to show how it works. See below for the video.

Color Organ / Video Paintings Installation: "The Synchronizer"
I decided to install the piece on two gesso boards, which are sold as "liquid art" surfaces, and present it with a keyboard on a keyboard stand in front of it at Gabe's suggestion. I was thinking this could either be a permanent installation where the viewer can play to activate it, or it could be used as a backdrop or "video sculpture" to accompany a live musical performance. My friend also kindly lent her time to play it for the documentation. See below for the video.

Day 313 @ ITP: Video Sculpture ~ Learning video mapping with MadMapper "It moved!"

I missed the first class sadly for Video Sculpture sadly and will be making up the light sculpture assignment at some point during this course, and am looking forward to doing that. In the second class we reviewed the projects people made in collaborations for the light sculpture assignment, then learned the basics of video mapping using MadMapper. In our third class we practiced video mapping to prepare for our next assignment. I learned that it is important to lock things in place (including the projector!) and all objects that are involved. I grabbed some objects from the junk shelf and practiced mapping simple colors onto them to make them look like they are different colors. My phone was freezing and in the meantime somehow everything got moved, probably the projector when the power went off and I moved it slightly to turn it back on, then there wasn't time to fix it, and realized simple things can suddenly look sloppy if they are not perfectly on the objects, though that could potentially be played with too-- like breaking out of both the rectangle of the projection and of the objects it's locked onto, onto the wall, in the space, reflecting on objects, etc. Otherwise precision is key. It was definitely inspiring just to be able to color 3D objects this way with light, and was also thinking about blending light in this way as well with the projector light. 

Video mapping on objects, a little "off."

Video mapping on objects, a little "off."

I'm definitely having some ideas for moving some ideas I've been building on off the computer into physical reality(??), or to somewhere in between, and will most likely be expanding upon this for my final for this course, and also will try combining this idea in some ways for my finals for Creative Coding and Ideation and Prototyping at Tandon so that I can maximize my time to work on this color/tones project through all three classes before Aug 10th rolls around and time is up...the goal will be to create combinations of colors/tones that mix with each other and move over time, and will now incorporate video mapping as well for a physical version as well as a web version using Javascript. Not sure yet how many surfaces will be involved or how to install it exactly, especially in a classroom at ITP, but it will be a challenge and I want to use this opportunity to get at least a basic version of this project finished and finessed in order to iterate on it later, and perhaps then will set up in my studio to expand upon during the school year. Really, I just want to experience it.